One of the most vexing problems in machining today is how to most efficiently make an out-of-round part round. In the days of thick-walled tubing or cut slugs, this manufacturing task presented little difficulty, but with today’s thin walled near-net-shape parts, the difficulties mount. Fortunately, we have developed several ways to make this task much easier.
It takes three points to define a plane. This fact of geometry is why a three-legged stool or table will never tip. No matter what uneven shape the floor beneath may have, three points of leg contact will always be able to find a flat plane defined between them and therefore not tip.
In the clamp chuck shown in Figure 1, we have three clamps, and three pads on the work stop surface. No matter what geometry the part being held may have, these three locating points will always be able to conform to the part’s geometry, and thereby impart no deforming stress to the part.
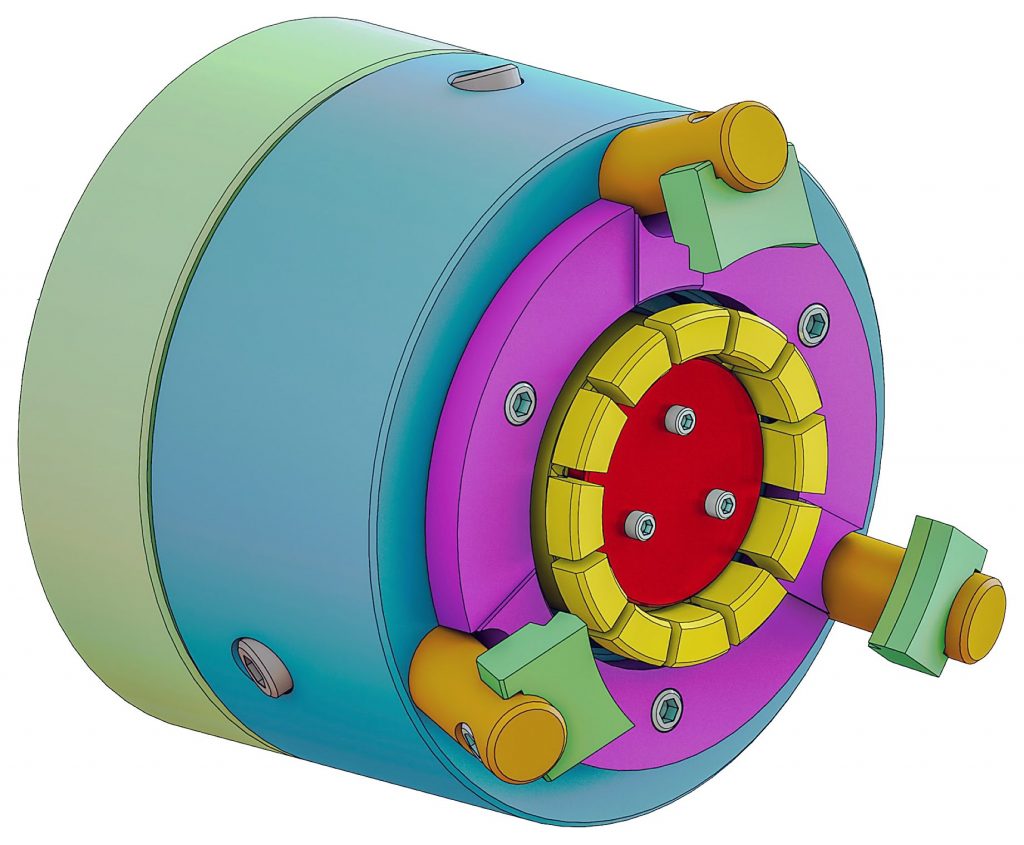
The yellow detail is a retracting push-on collet, manufactured to be slightly larger than the part. It must be slightly compressed in part loading. By this light spring tension, the part is centralized and held in place while the clamps are being actuated. After the clamps actuate, the push-on collet retracts out of the way, so that the full part bore may be turned and the outer face can be machined inside of the clamps for a second operation flat locating face.
This is a custom-designed mechanism. We have many different styles of clamp and centering devices. The style of chuck can be configured to virtually any required configuration. Other common options included in this design are through the spindle coolant flush, part air confirmation circuits, and carbide or diamond coating of the clamps or work stop pads.
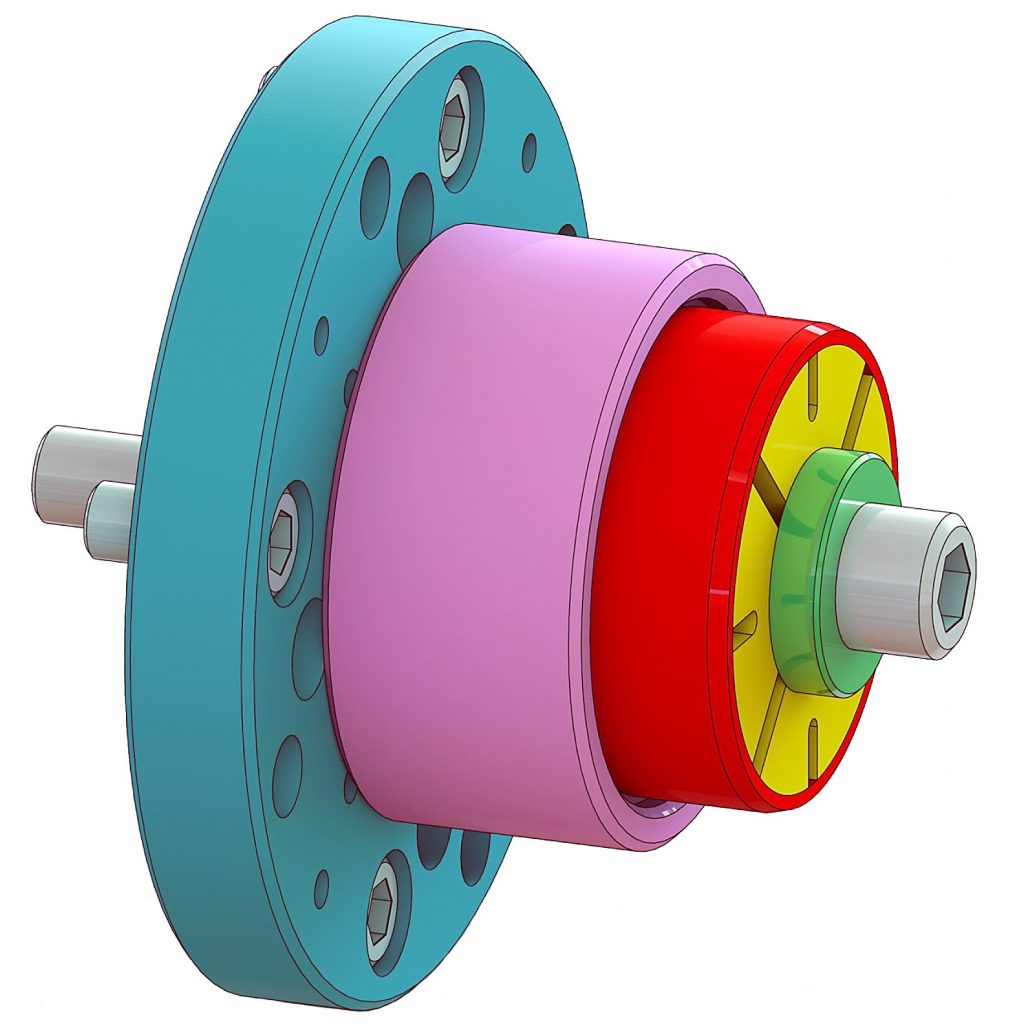
A second method of creating a round part from an unround one, is to coat the gripping mechanism with a compressible polymer. In this case, the yellow detail (Figure 2) is a standard Speedgrip collet, which has been coated (the red) with a 70-durometer polymer coating.
This method is often used for parts with soft highly-finished bushings, where a hardened steel collet would objectionably mark the bore material, or possibly when gripping powdered metal parts, which are already close to being round. The polymer can be configured in an array of hardnesses depending on the needs of the application.
The latest entry into our non-rounding arsenal is the finger collet. Having similarities both to a diaphragm chuck and a collet chuck, this mechanism is an economical alternative to a multi-jaw chuck.
The external finger collet in Figure 3 was designed for approximately a seven-inch ring gear. It has 12 gripping fingers, each one controlled by its own actuating die spring.
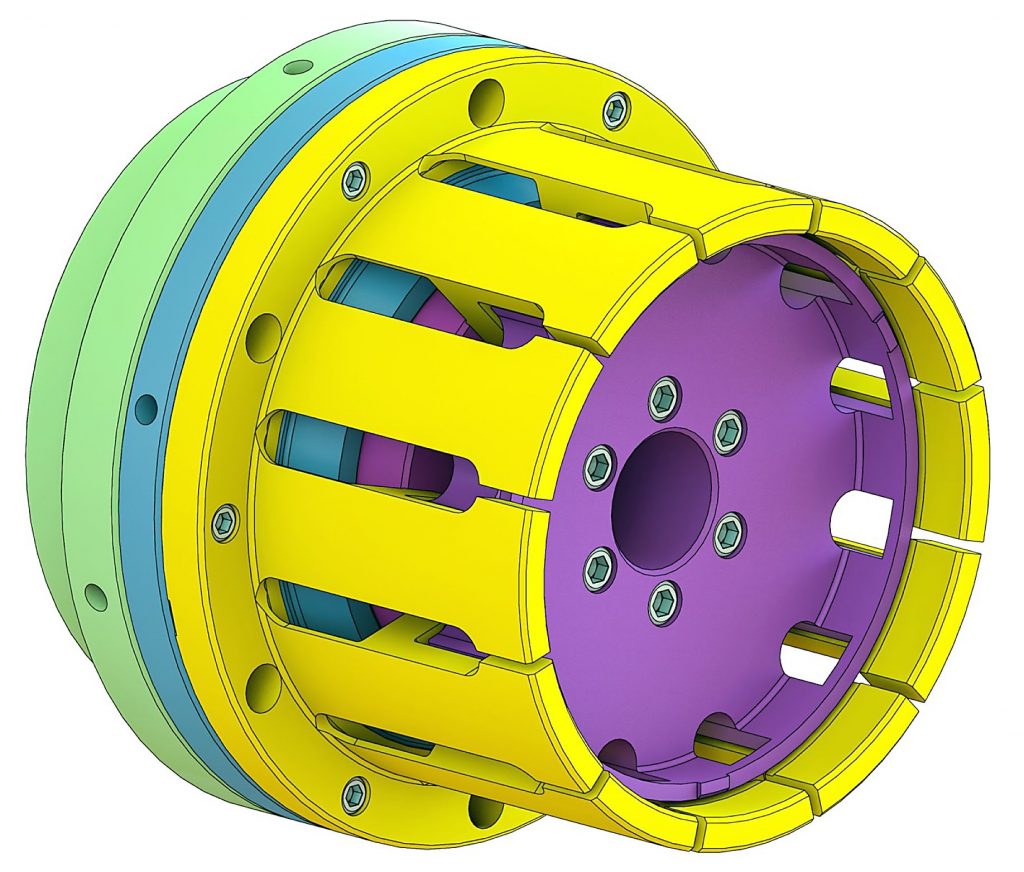
To start the design process, we need complete information on the part material, geometry, and maximum r.p.m. of the machining operation so that an accurate CAD model can be created, and we can run FEA studies to fully understand the part and how it behaves under the chucking forces. Of special importance, we require to know the maximum out-of-roundness that may be encountered in the part as it comes to this operation, and the required roundness and flatness of the machined surfaces.
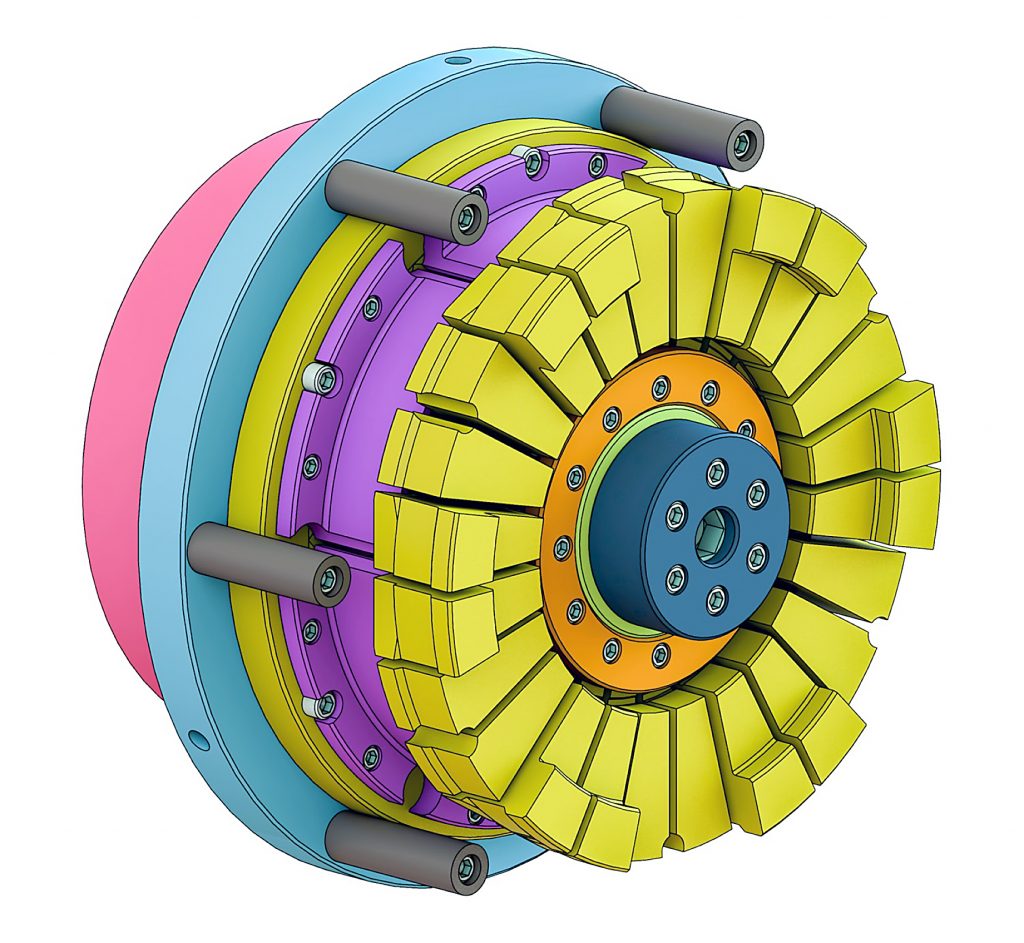
Figure 4 is an internal gripping finger collet. The part was a 13-inch ID 4340 forging. The forging coming to the operation, was roughly 0.100 out of round. Our customer was performing several turning operations, alternating between ID and OD gripping to work the out-of-roundness out of the part.
In one machining operation, we were able to create surfaces that were less than 0.003” out of round. This chuck has 24 gripping segments. The fingers are relieved such that every other set of fingers gripped at the front and at the back of the part, thereby distributing the chucking forces over as much of the part as possible.
With this one chuck, the customer was able to eliminate two machining operations.
The same issue that exists with non-rounding during machining is also an issue during the part inspection process. The same 13” 4340 casting part that we held for machining on the first operation also needed to be inspected on a gear checking inspection machine. (Figure 5)
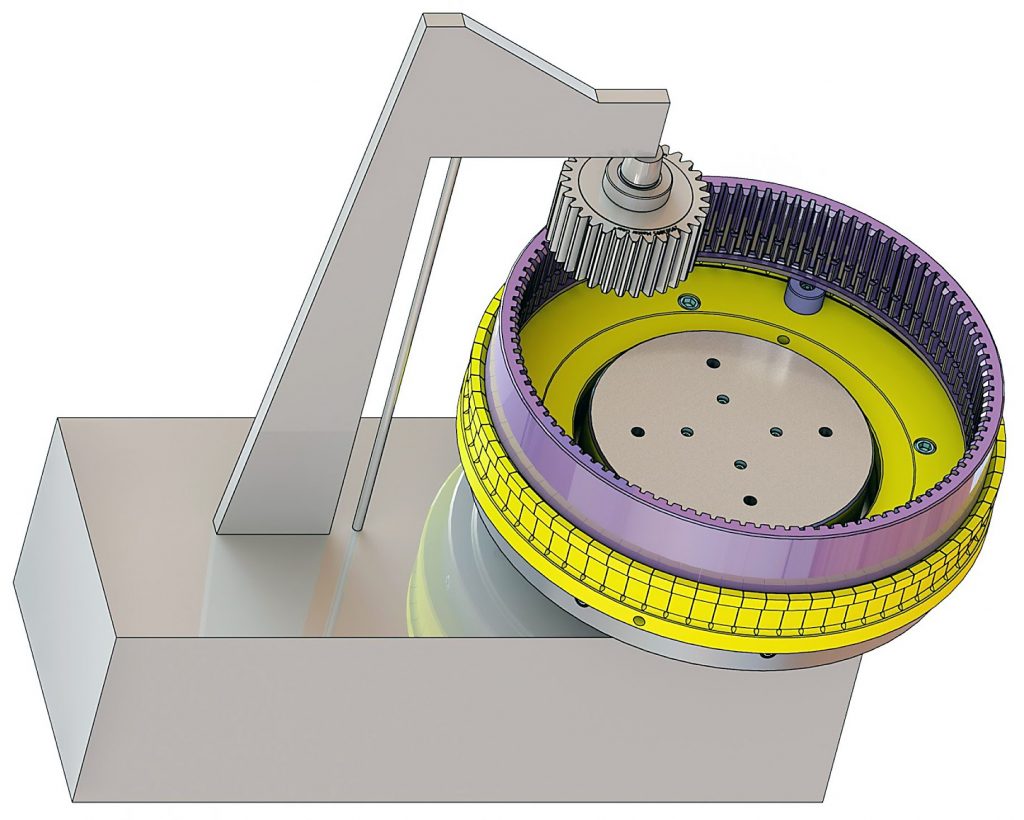
The original process of tramming in a 4-jaw chuck for each part was very time-consuming. Speedgrip was approached for ideas on how the inspection operation could be improved. We developed a push-on collet chuck for the application.
In this case the collet was manufactured slightly smaller than the low part limit of the part OD. Gentle force was required to insert the part into the collet. The part was quickly and accurately centered, without any deformation.
Not totally confident of such a new and easy method of checking their parts, the customer had the first hundred or so parts indicated after being chucked in the push-on collet. When no misloads were discovered, the push-on collet was trusted with a very important operation. The comment was made by the customer that this was the best tooling investment that they had made in a long time.
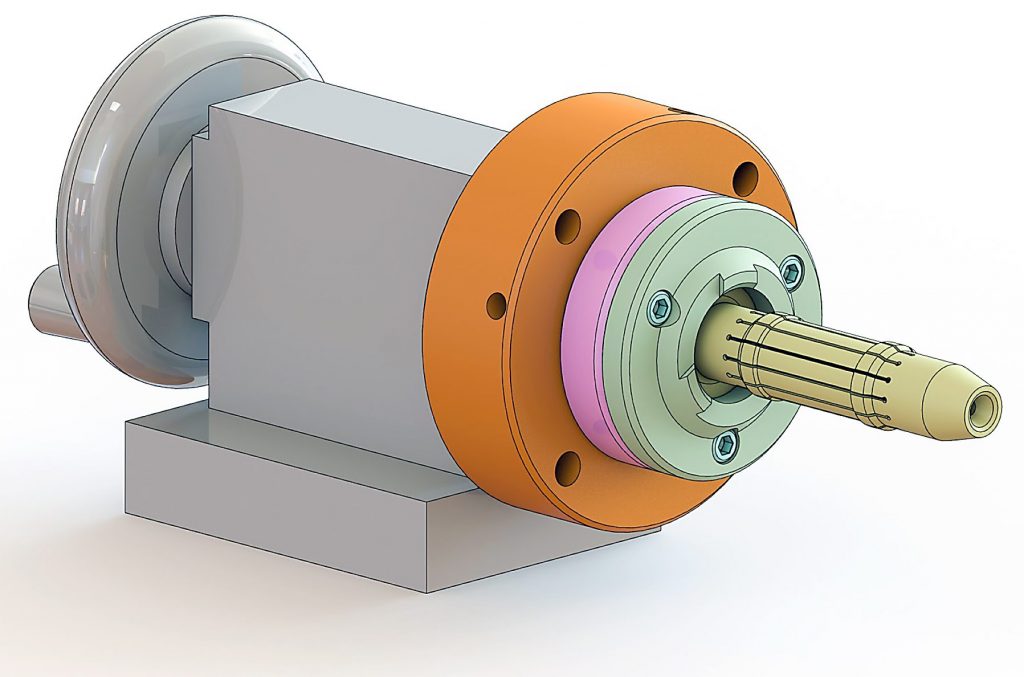
Push-on collets come in a wide variety of configurations and with many varied options. They can be mounted between bench centers, or on a manually rotating spindle as shown in Figure 6. Requiring no actuation, they are economical, compact, robust, and with a guaranteed accuracy of 0.0002, they are perfectly suited for use in the inspection department or at the machine for spot inspection. They have been used at the end of robot arms for part transfer and in welding applications. They can be splined to check concentricity and squareness of a gear’s pitch, minor, or major diameter. They can be polymer-coated and have been used in sizes ranging well under an inch to more than 20 inches in diameter.
